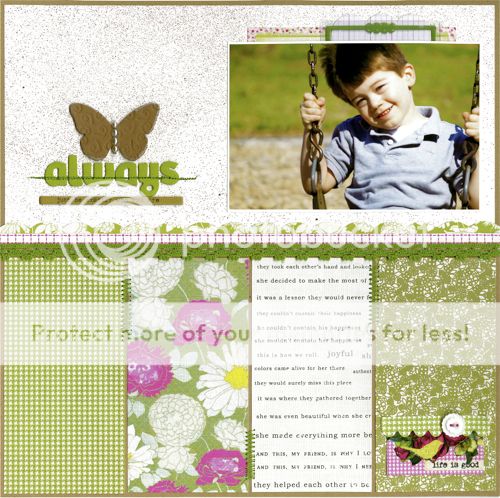
Now, I couldn't leave you all without sharing some scrappiness - yes I am still scrapping. I had a number of assignments to finish up this month & being that I was away from the blogging scene for so long - I am going to overload you all with some pics :)
As mentioned in my last post, I had the wonderful opportunity to guest design for Paper Posies this month. For my third layout, Michele asked me to create a sketch along with it that she could share with her subscribers. Here is the sketch . . .
And here is the layout . . .
I really LOVE title work - the combination of more than one alpha set within a title always seems to make it "pop" more to me. There were 2 within this kit - the red and the ledger type blue & white - LOVED them both!!!
I always see people doing this half-circle punch out thing - really liked the effect of the missing space & the little butterfly in there :)
When I printed off this photo of my son a few weeks ago, I knew the color scheme was perfect for the GCD Studios Artsy Urban line. I just love how the mix of gold, maroon, and black in the patterned papers totally complimented the pic.
I definitely love to layer, and this layout was no different. I used a combination of the border strips, inspiration cards, mat pads, journal cards, chipboard stickers and patterned paper to incorporate a number of patterns & colors into layout.
I also wanted to add some dimension to the layout as well so I used some punched patterned paper & chipboard to create this cute flower.
The flower was super easy & quick so I thought I would take a moment to share how you too can create this to use on your layouts :)
Handmade Flower Tutorial:
#1 First off, you will need 2 sizes of flower punches, patterned paper, paint, mist, twine, a chipboard circle, a thin paintbrush, and sandpaper.
#2 Begin by punching 2 flowers of varying size. You want to make sure the patterned paper is double-sided because you will see both sides in the final flower.
#3 Use the end of a thin paintbrush to curl up each petal.
#4 Do this to every petal on both punched flowers.
#5 Attach the smaller curled flower on top of the larger curled flower. I used a thick pop-dot so that the smaller flower was slightly raised above the larger.
#6 Now you will need to create the center of the flower. Paint the front of a small chipboard circle & spray a light coating of mist on it. Once dry, sand the edges a bit to give it a distressed feel. Punch 2 small holes near the center to create the "button".
#7 Using a piece of twine, tie a small bow through the holes of the button. Adhere this to your flower & voila - a fun & easy handmade flower to add to your layouts!!!
And finally, some sneaks to share for pages I will be revealing over the coming week :)
Magpie Club Sneak :)
My Creative Scrapbook Sneak :)
And last but not least, a few sneaks from my upcoming Guest Designer spot over at Paper Poppy - if you haven't checked this kit club out you should. It is owned by a FABULOUS designer - Aphra Bolyer - who used to design for me when I was running 52 Sketches 52 Weeks. She has a knack for putting together some totally yummy kits & I had a ball designing with all the goodies she sent me :)
Thanks again so much to all of you out there!!! I have the best readers ever & I so appreciate all the kindness & support you have shown me :) We are heading out to the mountains for some much needed family time but I will be popping in this weekend to post my FULL reveal for Paper Poppy so make sure to check back!!!
ttyl - julie


